Cache directory "/home2/rubinasc/public_html/wp-content/plugins/ttftitles/cache" is not writable.Kid Friendly Cupcake Decorating
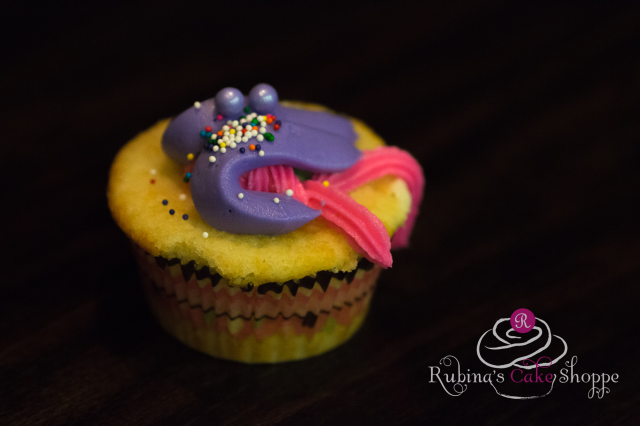
My 3-year-old daughter’s masterpiece
My son’s elementary school is putting on a Cupcake Wars Competition in early February and invited me to be a guest judge. I was asked to come out to each classroom this week to show the the children a few sample designs for each theme in the competition as well as show them how to decorate using piping bags so they can prepare for the upcoming competition.
I am super excited about this. Most of the kid-friendly decorating ideas out there include haphazardly slathering on some frosting and throwing on some candy. I think that children are capable of much more and are often under estimated.
I really feel that if they are shown a few simple techniques, they can transform those same ingredients- frosting and candy- into something stunning. That is why I came up with sample designs that not just showed the theme but also demonstrated a variety of techniques that are simple enough for any age or experience level.
Participating students are expected to bring their own frosting and decorating items to the competition. I understand that many parents may not have the time to go out and purchase special supplies so I came up with a few designs that don’t require any special cake decorating supplies – all you need is a ziploc bag and you can come up with something fun, creative, and delicious!
Before we begin, here are some instructions on how to fill your piping bags:
How to Fill Your Piping Bags Without A Mess:
- Place your piping tip inside the piping bag.
- Cut off just enough of the tip of the bag so just the end of the piping tip fits snug through the hole.
- Place the bag inside a tall cup or glass.
- Fold the end of the bag over the edges of the cup.
- Spoon in some frosting. Don’t over fill the bag. If you fill it too much it will be difficult to hold, especially for little hands. You can always re-fill if need be.
- Lift the bag out of the glass.
- Squeeze the frosting down to remove any air bubbles out of the bag.
- Twist the top of your bag and secure it with a rubber band to keep your frosting from spilling out the top.
- You are ready to get piping!
How To Make A Ziploc Piping Bag:
- You can use any sandwich bag for this but I prefer the quart size freezer bags since they are more durable and not as likely to burst open.
- Place some frosting into the bag.
- Squeeze the frosting down into one corner of the bag. Twist the bag to close and secure it with a rubber band.
- Cut a VERY SMALL piece off the tip of the bag. The less you cut, the finer your tip will be. If you cut off too much, more frosting will come out and chances are it will make a big mess. Its better to cut a little bit at a time until you get the size you are looking for.
- Squeeze the frosting down to remove any air bubbles out of the bag.
- Twist the top of your bag and secure it with a rubber band to keep your frosting from spilling out the top.
- When you pipe, squeeze from the top so the frosting squeezes down through the tip and doesn’t gush up out of the top of the bag.
- You are ready to get piping!
Now that we have the basics covered, lets get to the fun part! Here are my cupcake ideas and how I decorated them!
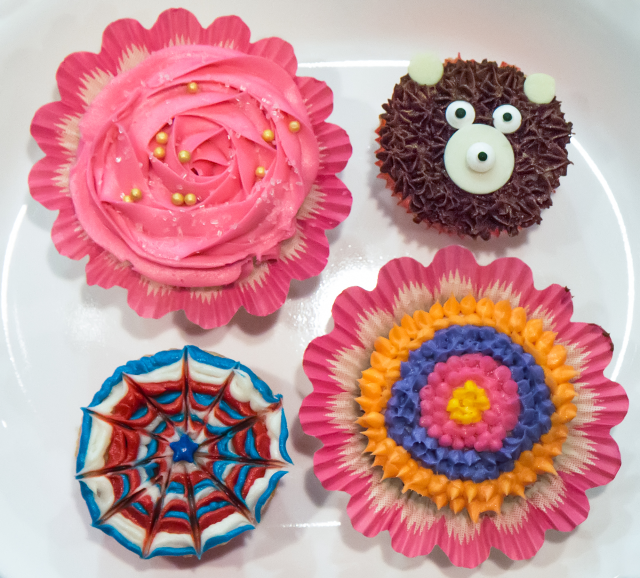
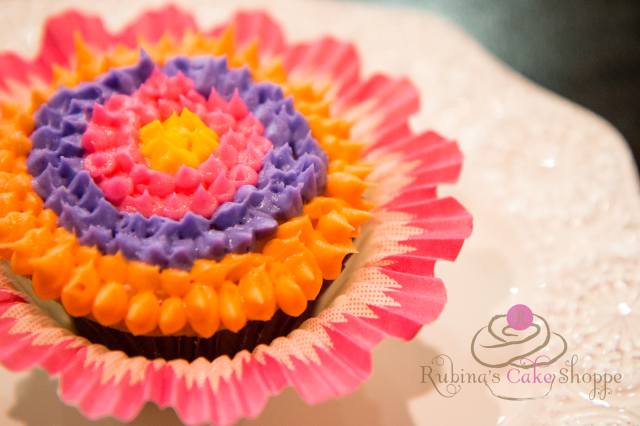
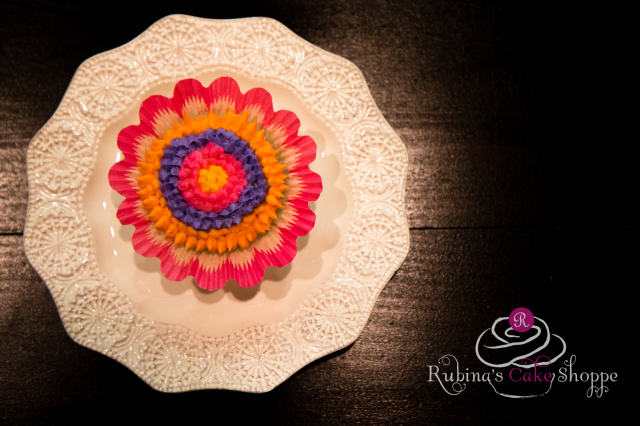
Most Colorful Cupcake:
Yesterday, I gave each of my two children piping bags and the toppings of their choice and let them have at it.
My sample for the Most Colorful Cupcake was inspired by a cupcake that my five-year-old son decorated. I loved the spikes in his cupcakes so I started playing around making spikes going around my cupcake in fun bright colors and I ended up with this beauty.
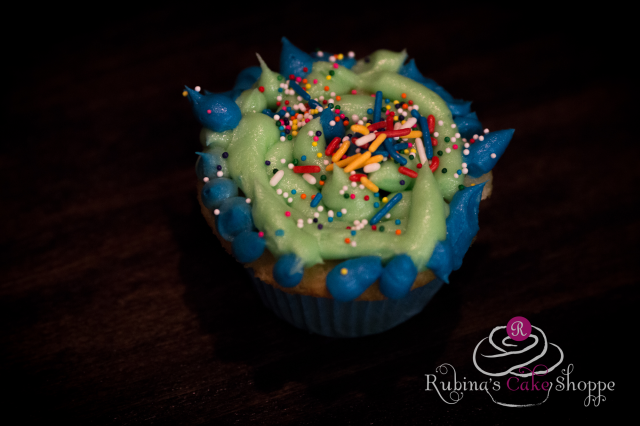
My 5-year-old son’s work of art
Directions:
- Fill several piping bags with different colored frosting. I used Ziploc bags for this cupcake. If you prefer you can use a round tip in the diameter of your choice.
- Hold the piping bag at a 45 degree angle with the tip of the piping bag slightly above the surface of the cupcake. Start from the outside edge of the cupcake. Give the bag a gentle squeeze and quickly pull up. Repeat this making a pattern around the edge of the cupcake.
- I made two rows of each color. As I made my way inward, I began to start holding the piping bag at more of a 90 degree angle.
It’s as simple as that!
Best All American Cupcake
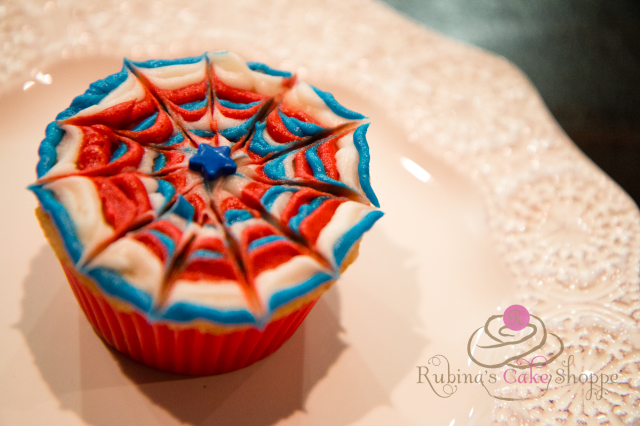
I call this my Firecracker Cupcake. It was inspired by a picture of a pinwheel wreath for the Fourth of July. When looking for design ideas for cakes and cupcakes, think outside the box. The best inspiration comes from non-food related items such as greeting cards, clothes, patterns on fabric, and random things like wreaths.
I think it came out super cool and it was simple to do. I was so happy with the turn out that I decided to do a short video tutorial.
http://instagram.com/p/yJPN93iIo7/?modal=true
Directions:
- Fill three piping bag with red, white and blue frosting fitted with small round tips. You can also use ziploc bags, just make sure to cut the tips really fine.
- Grab your favorite color and gently squeeze a dot of frosting in the center of the cupcake.
- Grab the next color and pipe around the dot. Repeat with the third color. Continue making these circles alternating the colors in the same pattern.
- Place the tip of a toothpick in the center dot and pull straight out to the edge of the cupcake. Rotate the cupcake a little bit and repeat this until you go all the way around the cupcake.
- Place a star sprinkle in the center of the cupcake.
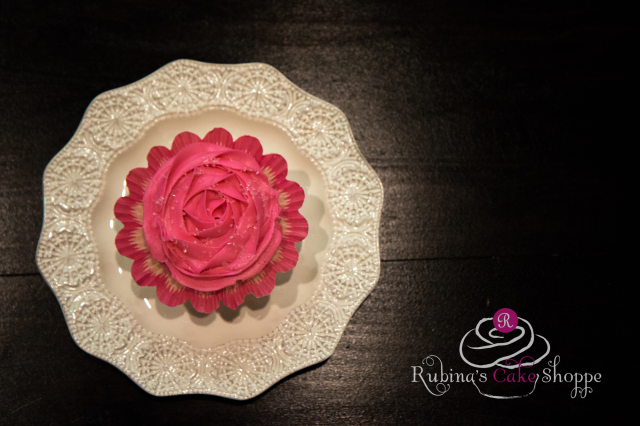
Best Valentine Cupcake:
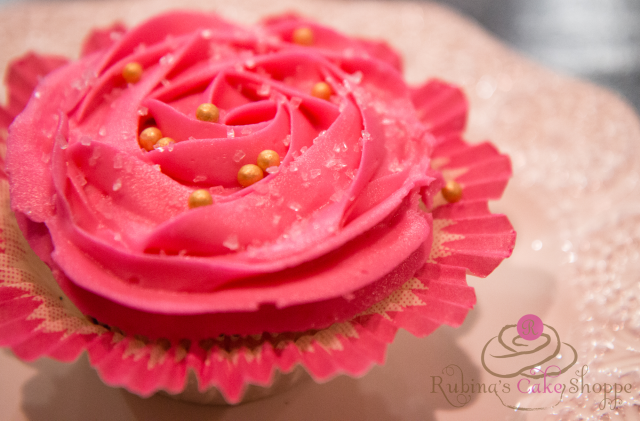
Nothing says Valentines Day more than a pink rose. The sugar crystals and gold pearls take it up a notch adding that elegant touch.
Directions:
- Fit your piping bag with a 1M icing tip.
- Fill your bag with the frosting color of your choice. I chose pink but you can use any color that you like.
- Hold the piping bag at a 90 degree angle over the center of your cupcake.
- Gently squeeze some frosting into the center of your cupcake, keeping a steady pressure begin swirling around that center dot in a clockwise direction, working your way out to the outer edge of the cupcake.
- Release pressure when you get to the edge of the cupcake.
- Voila! You have a beautiful rose!
Best Grizzly Cupcake

We can’t have a school competition without including the school mascot, the grizzly bear. Our school colors are red, black, and white so I felt that the red cupcake liner would be fitting for this cupcake.
I wanted to demonstrate to the kids that using the same squeeze and pull technique that I showed earlier can create a completely different look if you switch out the piping tip. I also wanted to show them some fun ways to incorporate candy into the cupcake design. I used white chocolate chips for the ears, a white candy melt for the mouth and candy eyes for the eyes and nose. You can find the candy eyes at any craft store.
Directions:
- Fill a piping bag fitted with a star tip with chocolate frosting.
- To make the fur – Hold the piping bag at a 90-degree angle with the tip of the piping bag slightly above the surface of the cupcake. Start from the outside edge of the cupcake. Give the bag a gentle squeeze and quickly pull up. Repeat this pattern going around the cupcake until you fill up the entire cupcake.
- Place the candy melt, pointy side down, into the center of the cupcake. Squeeze a tiny bit of white frosting on the center of the candy melt and place a candy eye there to make the nose.
- Place the candy eyes right above the candy melt.
- Place two white chocolate chips, pointy side down, on the top left and right of the cupcake to make the ears.
The final tip that I have for you is to have fun and use your creativity. I encourage you to try these techniques to come up with a design of your own!
While your letting your creativity flow, be sure to snap a photo and share it using hashtag #RubinasCakeShoppe. I’d love to see what you make!
* I hope you enjoyed my tutorials. If you would like to learn more, I offer private and semi private instruction for adults and children. I also offer cupcake decorating parties which are great for birthdays or a ladies night out. If you are interested, please fill out this form and I will send you an email with the details.


