Cache directory "/home2/rubinasc/public_html/wp-content/plugins/ttftitles/cache" is not writable.The Ultimate Gluten Free Pie Crust
I recently got hooked on the show, Master Chef Junior, where children 8-13 years old are challenged in a cooking competition. These kids are cooking up restaurant quality dishes like Seared Scallops, Chicken Liver Pate, Sriracha Foam and Fillet Mignon to perfection. It’s amazing to see what these children can do at such a young age. One of the episodes was a pie competition, where the kids were asked to make citrus cream pies. After watching these kids whip up all sorts of delicious pies with fluffy cream toppings, I was craving pie- lemon cream pies, pumpkin pies, apple pies, you name it.
I was on a mission to come up the perfect pie crust recipe. Since my husband is allergic to wheat, I was challenged to create a gluten free version that is just as delicious as a wheat based pie crust, if not better. After a few attempts, I perfected my recipe and created a delicious pie crust that was buttery, tender and flaky. This is the ultimate recipe to use for your next pie whether you are gluten intolerant or not.
I put it to the test and friends and family who tried it were amazed that it was gluten free. Mission completed!
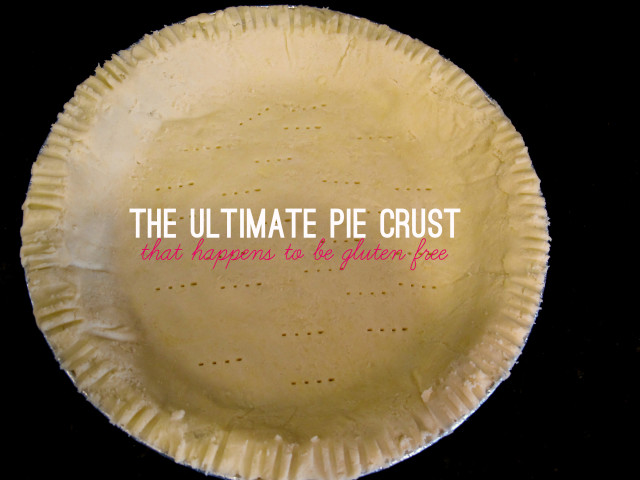
The Ultimate Pie Crust (that happens to be gluten free)
Ingredients:
4 ounces (8 tablespoons) unsalted butter, chilled and cut in cubes
*6 ounces (a little less than 1 ¼ cup) all-purpose gluten free flour blend as follows: 4 ounces rice flour, 1.3 ounces potato starch, 0.7 ounces tapioca starch
1 tsp xantham gum
1/2 teaspoons table salt
1 tablespoons coconut sugar or granulated sugar (optional, omit for savory pies)
2-3 tablespoons ice cold water (just enough until it comes together)
Approximately 32 ounces of dried beans, for pre-baking
*This is the flour blend I use. You can substitute it with your own flour blend, however, I can’t guarantee that you will get the same results.
**When baking with gluten free flours, it’s best to measure by weight since baking needs accuracy and different flours have different weights. I have tried many kitchen scales and the Jennings CJ4000 Digital Scale
Directions
Place the butter in freezer for 15 minutes. When ready to use, remove and cut into small pieces.
In the food processor, combine the flour blend, xantham gum, salt, and coconut sugar by pulsing 3 to 4 times until the ingredients are combined. Add the chilled and chopped butter and pulse 5 to 6 times until the texture looks like wet sand. Turn on the food processor and slowly pour in about 2 tablespoons of water until the mixture just comes together. If it does not come together, slowly add a little more water while pulsing, but be careful not to add too much. Place the mixture in large zip-top bag, squeeze it together until it forms a ball, and then press it into a rounded disk and refrigerate for 30 minutes.
Preheat the oven to 425 degrees F.
Remove the dough from the refrigerator. Place the dough between two pieces of parchment paper and evenly roll out the dough with a rolling pin to a 12-inch circle. Peel off the top parchment paper and flip the rolled out dough into a pie pan. Then press the dough evenly into the bottom and sides of the pan. Peel off the second parchment paper. Trim edges if necessary. Press the excess dough into any areas that have holes. Use a fork to poke holes in the bottom of the pie crust.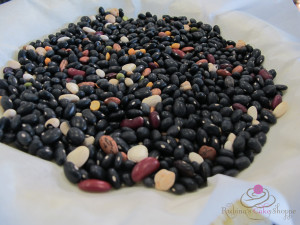
If you are making a pie with a crust that needs to be pre-baked follow these directions:
Poke a few holes in the pie crust with a fork. Place a large piece of parchment paper on top of the piecrust and fill it with dry beans or pie weights. Press them down so they are evenly spread out. This ensures that there are no bubbles in the pie crust. Bake in the oven for 10 minutes. Remove the pie crust from the oven. Remove the beans and the parchment paper.
Pour in your filling and place the pie in the oven for the amount of time listed in the recipe.
-OR-
If you need a fully precooked crust, do not add the filling and continue baking until golden in color, approximately 10 to 15 minutes longer. Remove from oven and place on cooling rack. Let cool completely before filling.
If you make this recipe, be sure to snap a photo and share it using hashtag #RubinasCakeShoppe. I’d love to see what you make!


