Cache directory "/home2/rubinasc/public_html/wp-content/plugins/ttftitles/cache" is not writable.My Little Pony Cake Tutorial Part 1
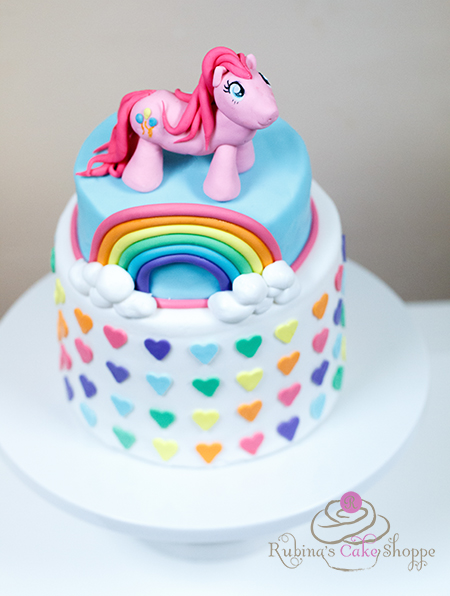
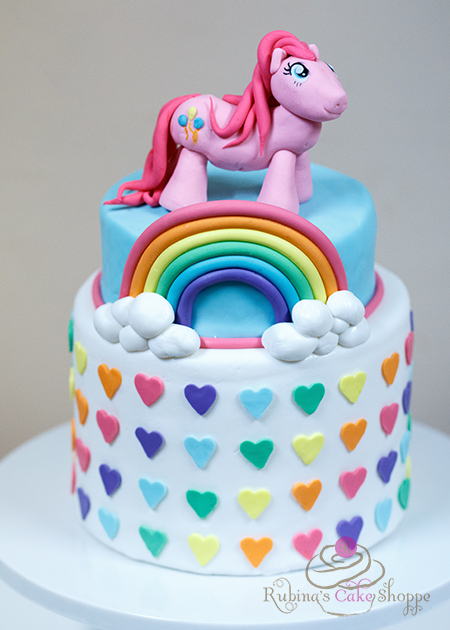
I was super excited when asked to make a My Little Pony Cake because it took me back to my obsession with My Little Pony when I was a little girl. I wanted the cake to capture the bright and colorful spirit of the theme and this invitation created by Party Posh Printables was the perfect inspiration.
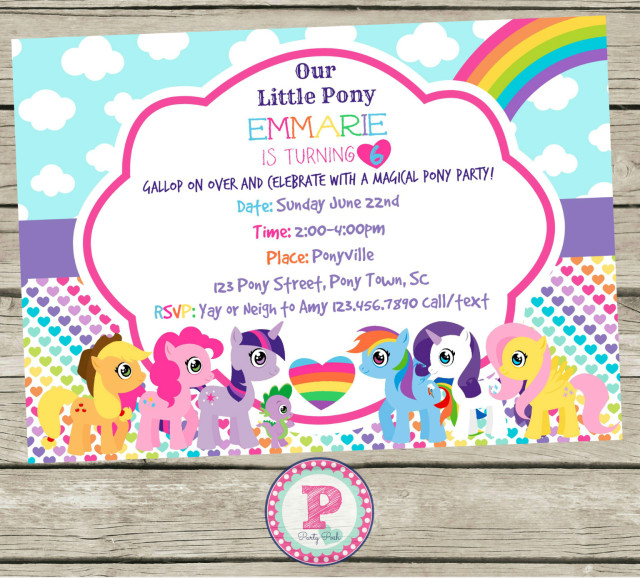
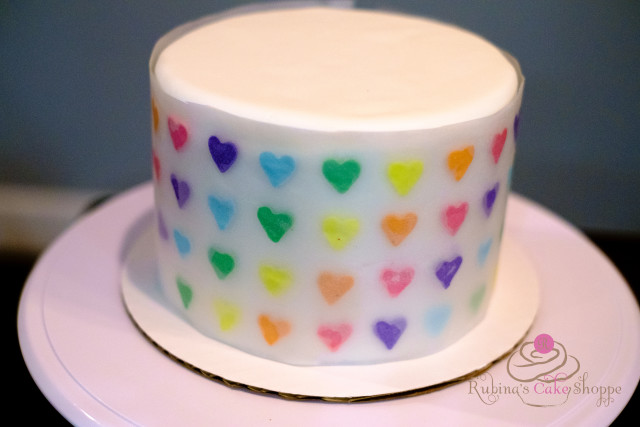
I loved the diaganol rainbow pattern with the hearts and I wanted to replicate it on the bottom tier. I was ready for the long and tedious job of measuring and spacing the hearts out one by one on the cake until I remembered a tutorial I came across a while ago using a wax paper transfer method. I am so thankful for the idea! It saved me a ton of time and the cake looks so clean. For those of you are interested in finding out more about how I created the bottom tier, see the tutorial below.
Diagonal Fondant Heart Pattern
1. Color your fondant to the desired colors using gel colors. For this cake I used rose pink, orange, lemon yellow, leaf green, sky blue, and purple.
2. Rub a tiny bit of shortening on your hands so the fondant does not stick to your hands.
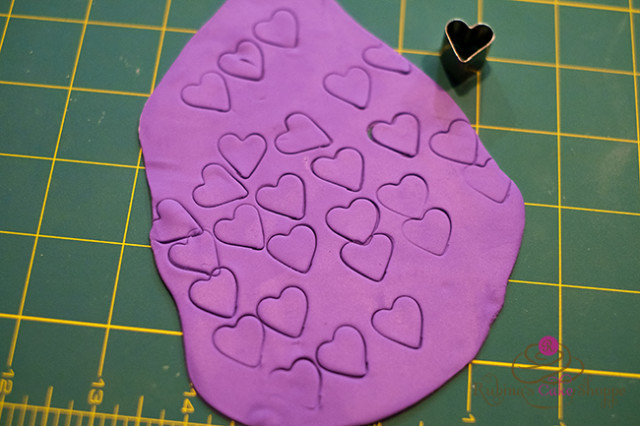
3. Knead the purple fondant until it is soft and pliable.
4. Roll out the purple fondant very thin using your rolling pin.
5. Cut out small hearts using a heart shaped cutter. (If you want to include your younger kids in the process, this is the perfect job for them!)
6. Repeat steps 3-5 with the remaining colors of fondant. Keep the fondant hearts covered with plastic wrap while you work so they do not dry out.
7. Cut a piece of parchment paper so the height is the same as the height of the cake and the width of the parchment is that of the circumference of the cake. Rub the parchment paper with shortening.
8. Place your fondant hearts evenly spaced out in a pattern.
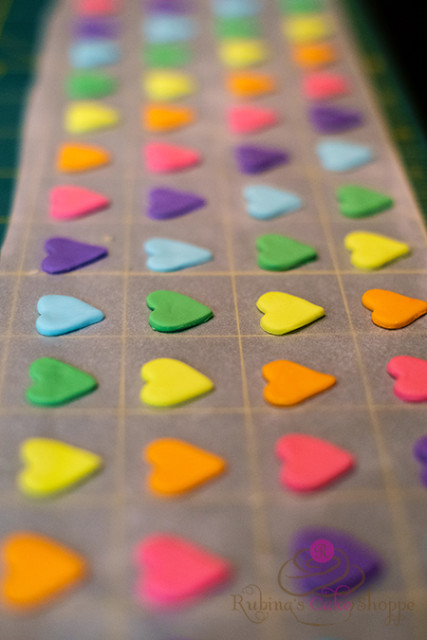
9. Lightly dab each heart with water.
10. Carefully pick up the parchment paper and wrap it around the fondant covered cake. Gently press over the parchment paper so the hearts stick to the cake.
11. Gently peel off the parchment paper, trying not to move the hearts.
12. If any of the hearts do move as you are removing the parchment paper, simply slide them back to the correct position. If there is a colored residue on the white fondant, clean it off with a wet brush.
13. You now have a beautiful and clean looking diagonal heart pattern on your cake!
Stay tuned for part two of this tutorial where I show you how to make a clean looking fondant rainbow without having to use any special tools!


